My daughter had some friends over today and we made these Pixy Stix Hair Bows. I followed this tutorial for making the bows which was easy to follow. Then I hot glued the bow to a metal hair clip that I had already covered with red ribbon. The girls loved these and I think they turned out pretty cute too!
Showing posts with label candy. Show all posts
Tuesday, July 31, 2012
Monday, December 27, 2010
Christmas trees
Okay, these pictures aren't so great... with my Daisy girl scout troop we made these christmas trees.
All you need is a sugar ice cream cone, green frosting, candy or sprinkles to decorate as ornaments. Spread your frosting all over an upside down cone placed on top of a paper plate. Then go to town decorating! You couldn't ask for easier!
Monday, December 13, 2010
Buckeyes
These yummy candies are sure to be a hit with everyone!
To make them you need:
1 1/2 cups peanut butter
1 cup butter, softened
1/2 tsp. vanilla extract
6 cups confectioners' sugar
4 cups semisweet chocolate chips (you might need more, I always have more on hand in case)
-In your mixer combine peanut butter, butter, vanilla and confectioners' sugar until well blended. The dough will look crumbly at first and then will all stick together after mixing awhile longer.
-Next roll the peanut butter mixture into small balls. I used a small cookie scoop to measure my dough. Place each ball on a cookie sheet which is lined with waxed paper. I usually need two cookies sheets.
-After you fill your cookie sheets with dough balls, then place a toothpick into each ball (this is what you will hold onto as you later dip them into chocolate). Put your sheet of peanut butter balls in the freezer for at least a half an hour. Or until firm.
-Melt chocolate in a bowl in the microwave. I put it in my microwave for 30 seconds then stir. I repeat this step as many times as it takes for the chips to be completely melted and smooth.
-Dip your frozen peanut butter balls in the chocolate while holding onto the toothpick. Leave a small portion of peanut butter showing at the top to make them look like Buckeyes. Remove toothpick. Put back in the refrigerator to let the chocolate harden. Then take them from the fridge. You will want to get rid of the hole in each Buckeye left from the toothpick. I used a small piece of wax paper, about 2"x 2". Lay the piece of wax paper on top of one Buckeye at a time and rub your finger on the wax paper gently until the hole is no longer seen. Now you can return the Buckeyes to the fridge until you are ready to serve them.
I am able to get about 100 Buckeyes out of this recipe.
Enjoy!
Monday, December 6, 2010
Candy Train Engine
These trains are super simple to make all you need is:
- a pack of gum (the thin packs not the new wide ones)
- a roll of life savers
- 4 starlight mints or I used creme savers
- 2 square candies for the cab
- one candy for the roof of the cab (I used christmas taffy)
- a Nestle's Crunch bell
-royal icing
I did attempt to make these with my 10 year old girl scouts and they were a little difficult for them. They did not have the patience to hold onto the pieces of candy while the royal icing was hardening.
Friday, April 30, 2010
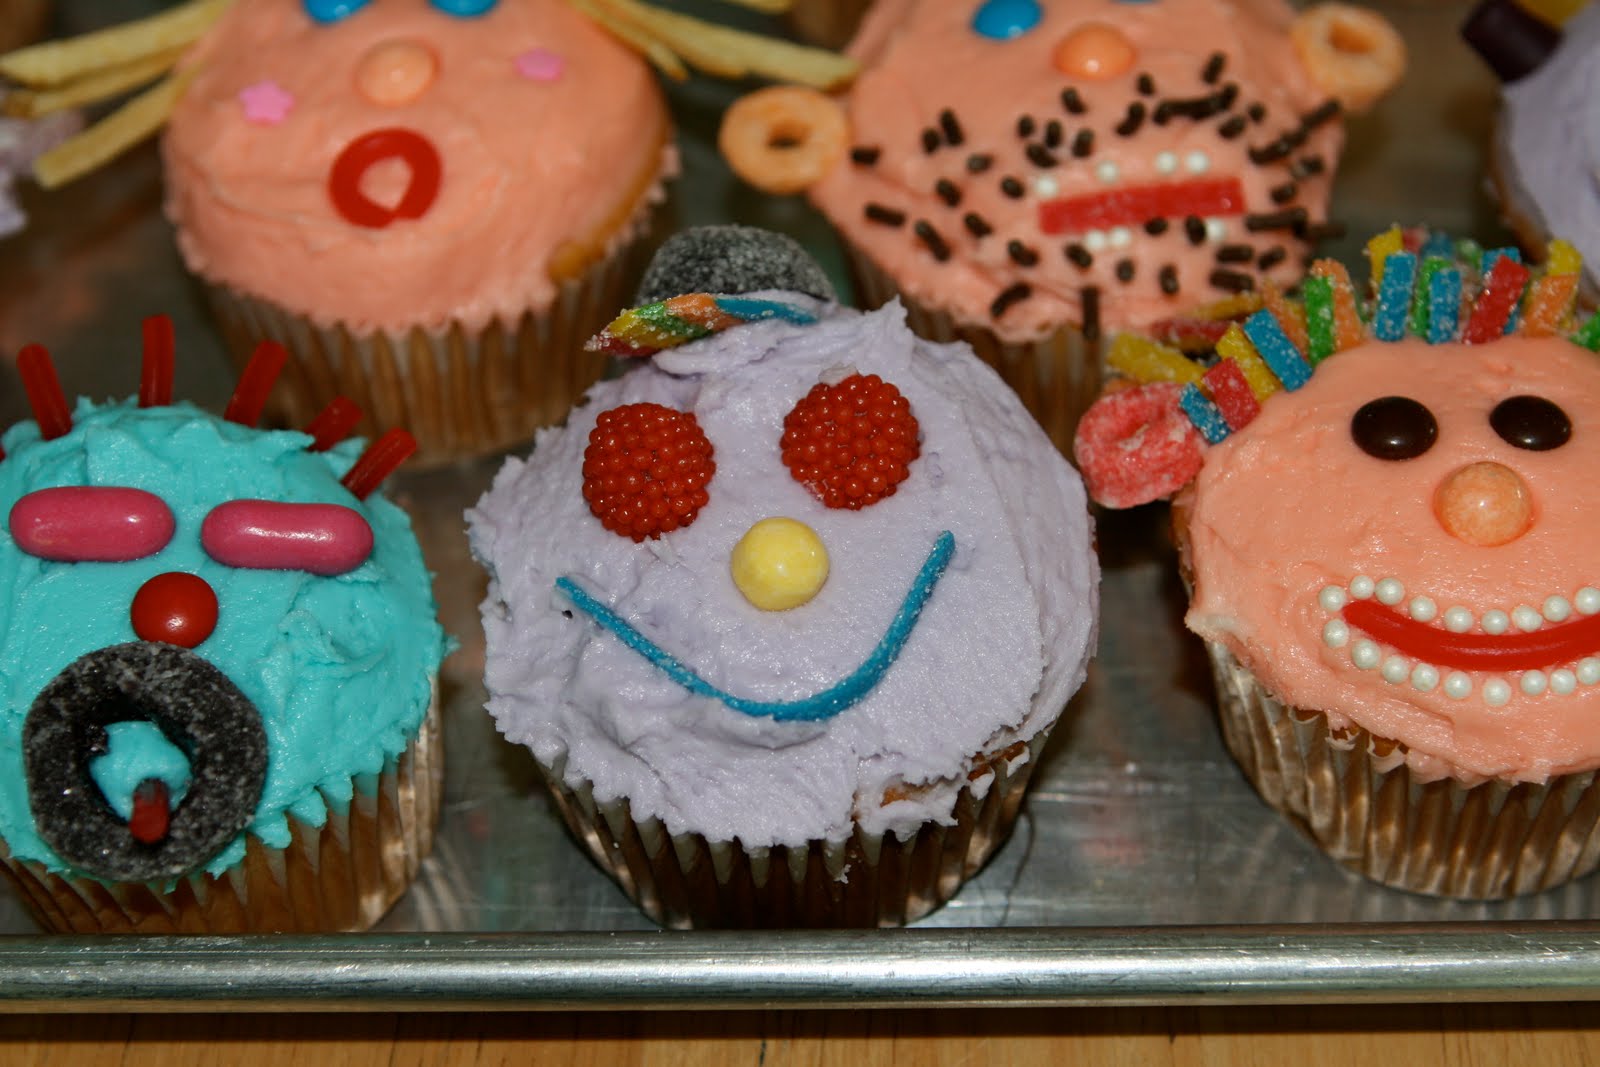
Silly Face Cupcakes
Sunday, November 1, 2009
Mad Scientists at Work
Today we decided to do some experiments on some of the kid's halloween candy. I got this idea from an article in Family Fun magazine. The kids each picked out some candy and we covered each candy with either water or vinegar in separate glasses. We looked to see if they floated or sank, and just what they looked like after soaking. One of my favorites was seeing how the "S" on each skittle would come off and float to the top of the water. The kids got really into it and we had to keep pulling out more and more glasses so they could try just one more. I think this might just become a tradition!
My little mad scientists.
Subscribe to:
Posts (Atom)